Getting Started!
Chapter Objectives
- ✔️Generate an Angular applicationLearn how to use the Angular CLI to generate an Angular application.
- ✔️Run the applicationLaunch the application locally and view the default base page.
- ✔️Understand hot reloadingUnderstand how hot reloading works in Angular applications.
Create the project
Angular provides a Command Line Interface (CLI) to generate a new Angular application, manage the project, and run the application locally.
🎓 Instructions
-
Open a terminal and run the following command to create an Angular application:
Terminal window npm create @angular/cli@17.0.0 angular-introduction-course --standalone=false --style=css --ssr=false --skip-tests=true
Open the project
🎓 Instructions
- Open Visual Studio Code. 2. Click on the
Filemenu and selectOpen Folder. 3. Navigate to theangular-introduction-coursefolder and click theSelect Folderbutton.
Run the application
The Angular CLI provides a command to launch the application locally.
🎓 Instructions
-
Open Visual Studio Code’s terminal.
-
Type the following command to start the application:
Terminal window ng serve -
Open your browser and navigate to
http://localhost:4200. -
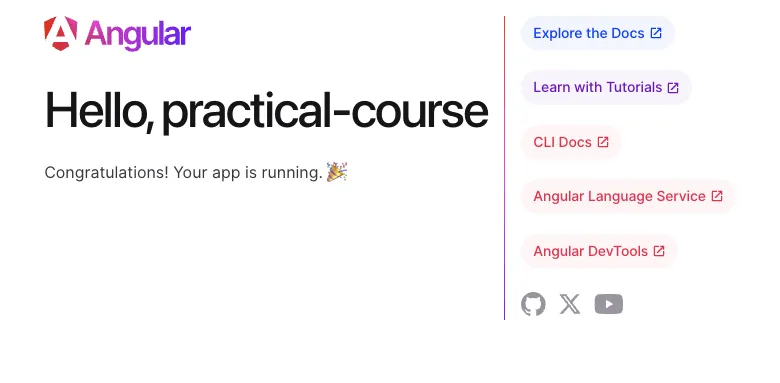
You should see the following default base page:
Hot Reloading
Hot reloading is a feature that allows you to see the changes you make to your code without having to manually refresh the page.
🎓 Instructions
-
Open the
src/app/app.component.htmlfile. -
Replace the entire content of the file with the following code:
app.component.html <header><h1>Angular Legacy course</h1></header> -
Return to your browser to see the following page:
